
Last updated September 22, 2026
Full 25-point door and opener safety check with every visit - springs, cables, rollers, tracks, and your LiftMaster or Chamberlain opener included
You get a price before we start. It does not change when the truck arrives.
 Before
 After
After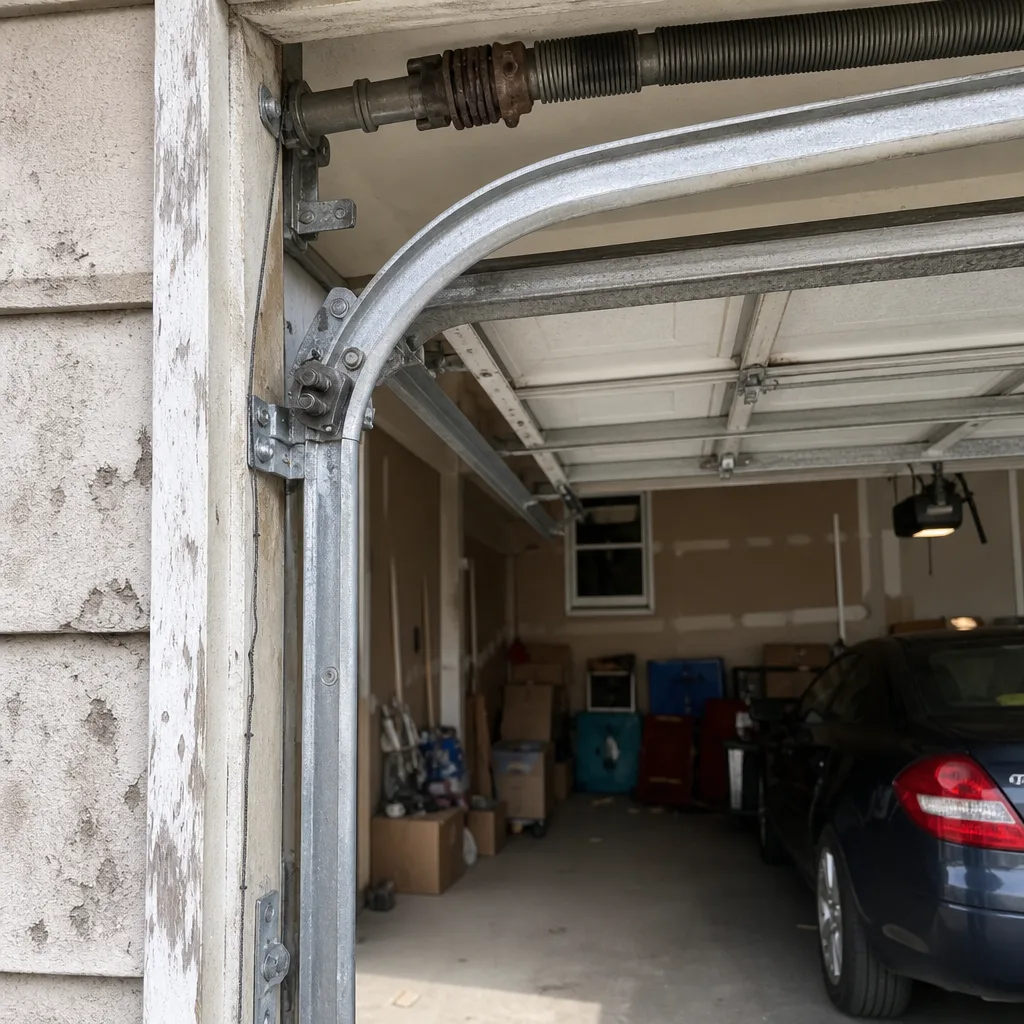 Before
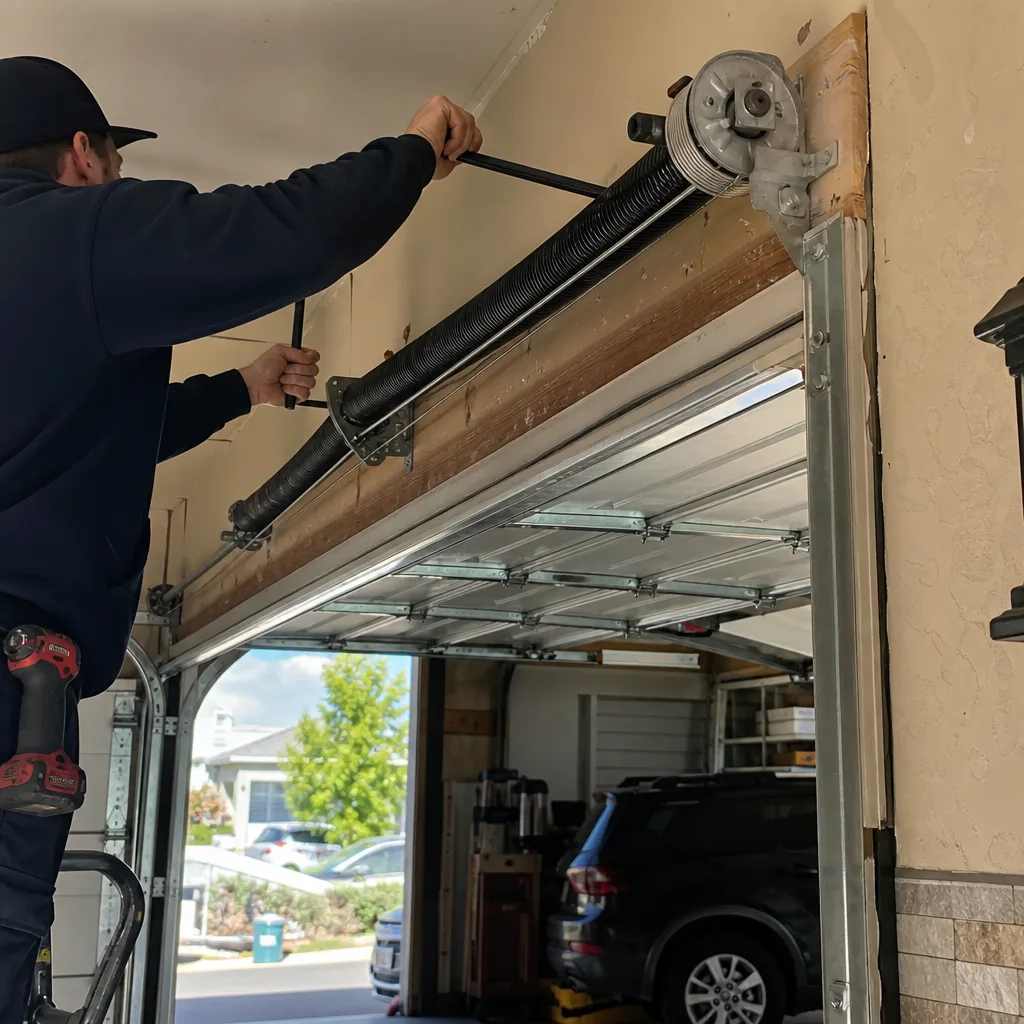 After
After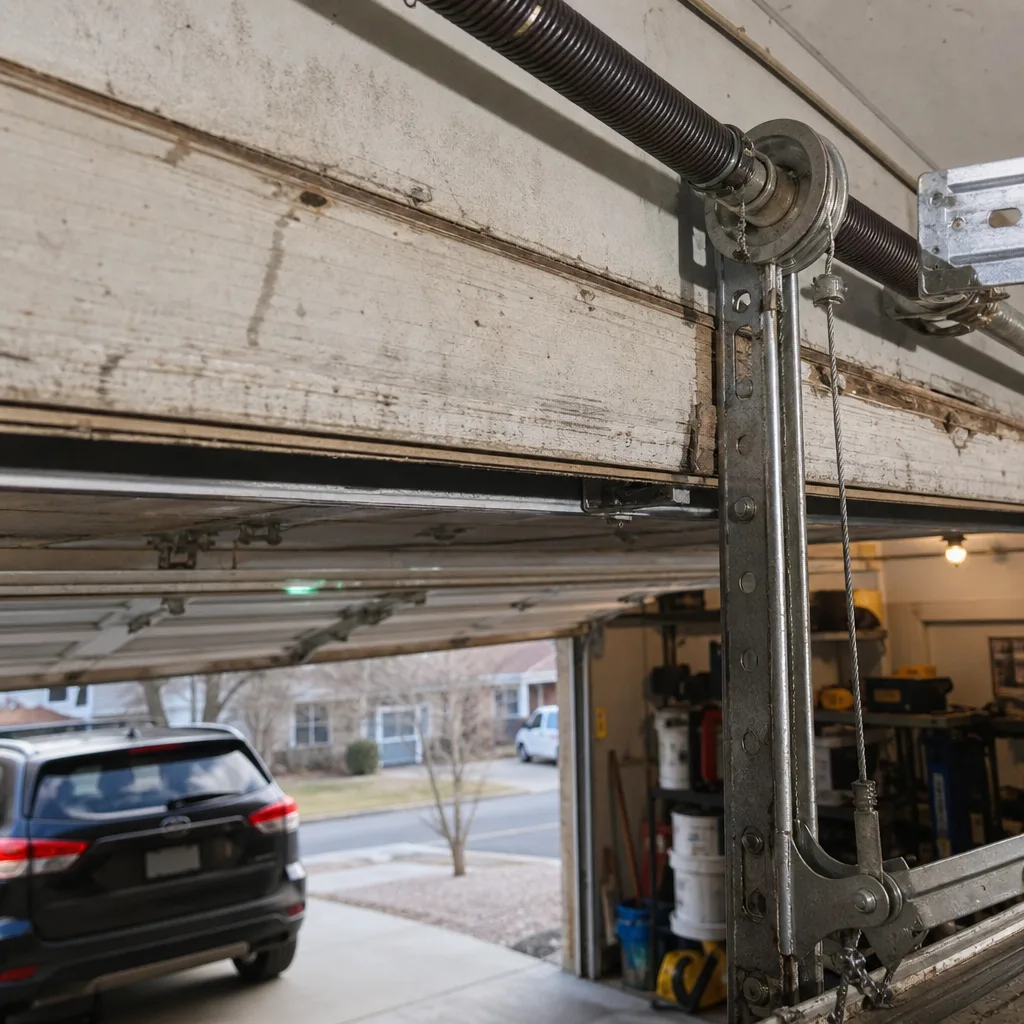 Before
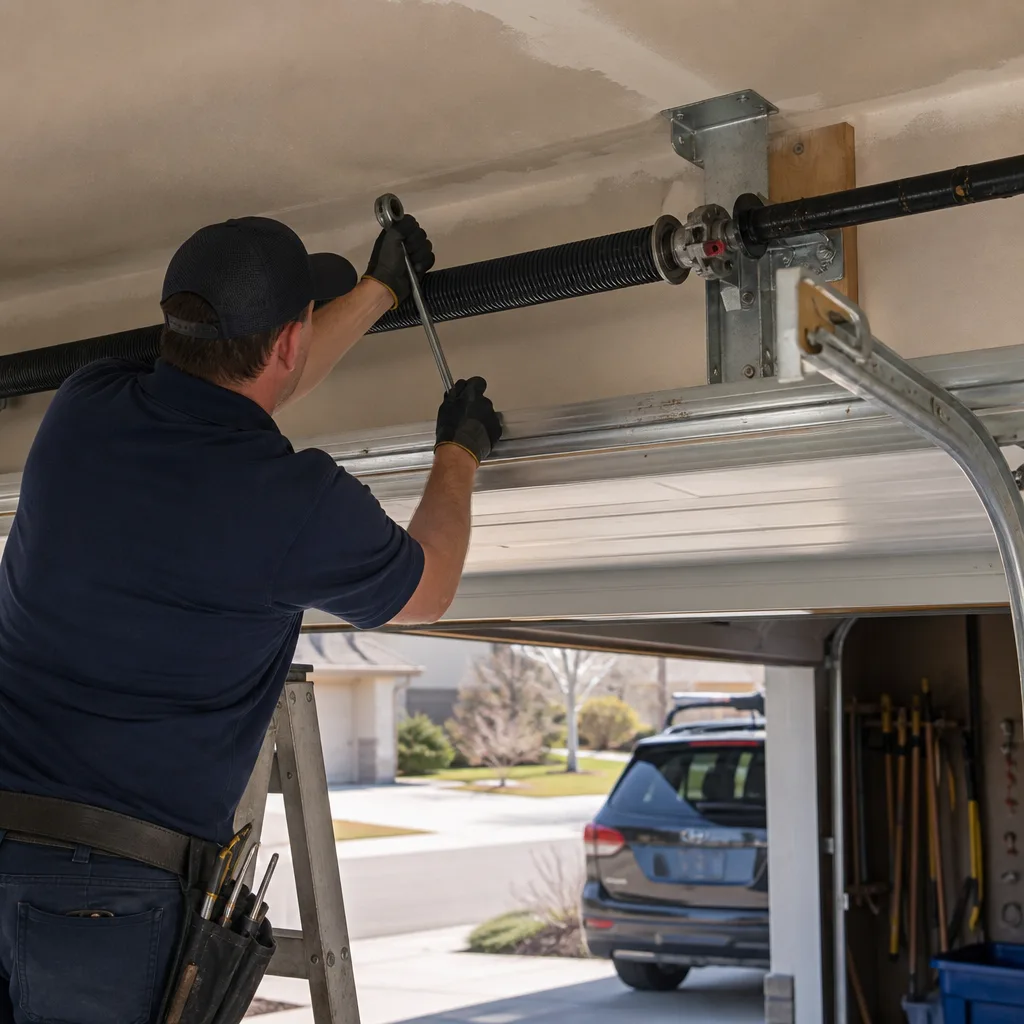 After
AfterDIY vs Professional Garage Door: The Denver Homeowner’s Decision Guide
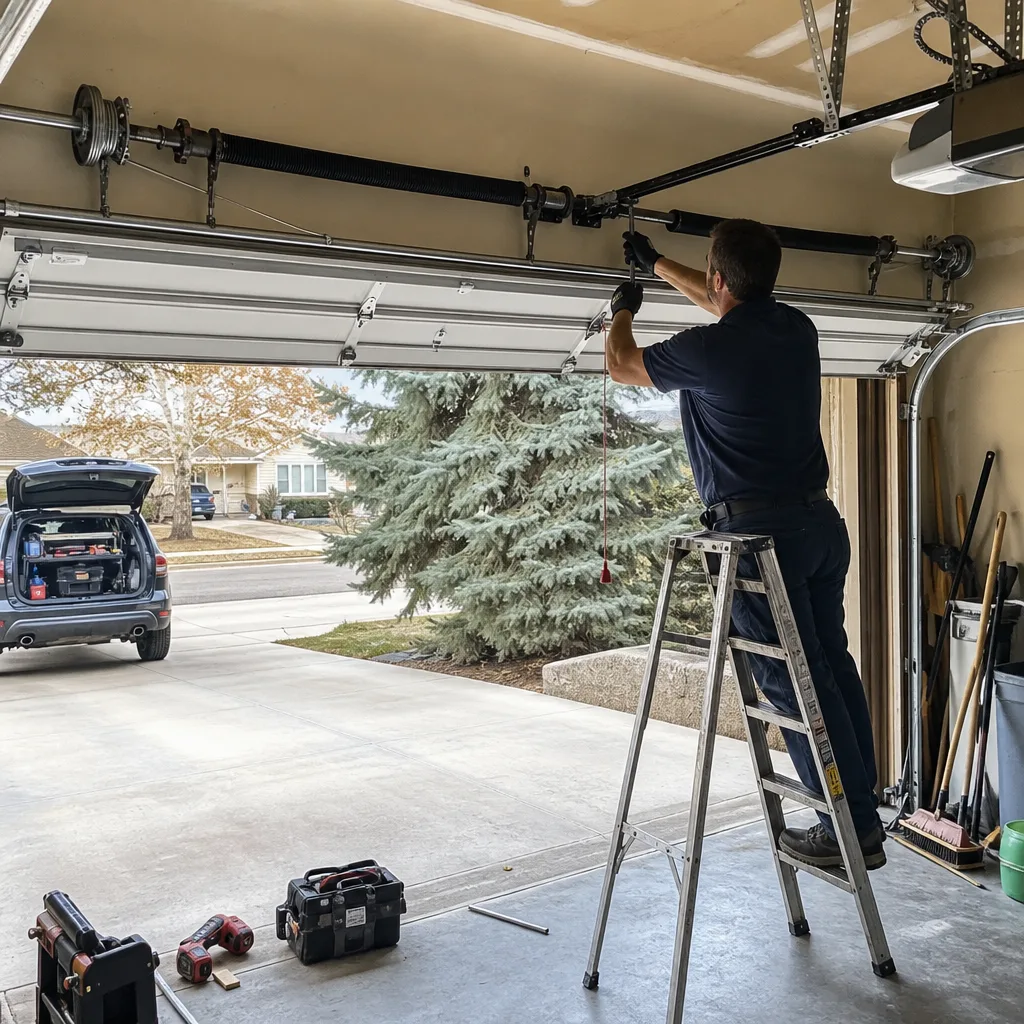
Torsion springs store enough energy to cause a fractured wrist or worse when released incorrectly. The tool required to release that energy safely costs $30 and takes ten minutes to learn - but neither fact appears in the average “easy DIY spring fix” video. In Denver, where temperature swings from 20°F mornings to 60°F afternoons stress metal components differently than in coastal climates, the question of what you can safely handle yourself versus what demands a trained technician isn’t about your skill with a wrench. It’s about which parts of your garage door system hold stored mechanical energy, and which don’t. This guide draws that line precisely, with specific component lists, real cost comparisons, and the documentation habits that protect you either way. For ongoing maintenance guidance, see our Garage Door Repair Maintenance Checklist for Denver Homeowners.
Quick Answer
Denver homeowners can safely DIY weatherseal replacement, bottom seal installation, roller swaps on extension-spring doors with the door secured, lubrication, and minor panel touch-up. Torsion spring replacement, cable work, track realignment, and opener wiring should always be handled by a professional due to stored mechanical energy and electrical hazards. The dividing line is not skill level - it’s physics.
Table of Contents
- Stored Energy: The Physics That Draws the Line
- The DIY-Safe Component List
- The Professional-Required Component List
- Denver Climate Considerations for DIY Work
- Honest Cost Comparison: DIY vs Professional
- How to Document a DIY Repair Like a Pro
- The Minimal Tool List for Safe DIY
- Common Mistakes to Avoid
- When to Call a Professional
- Frequently Asked Questions
- The Bottom Line
 Before
 After
AfterStored Energy: The Physics That Draws the Line
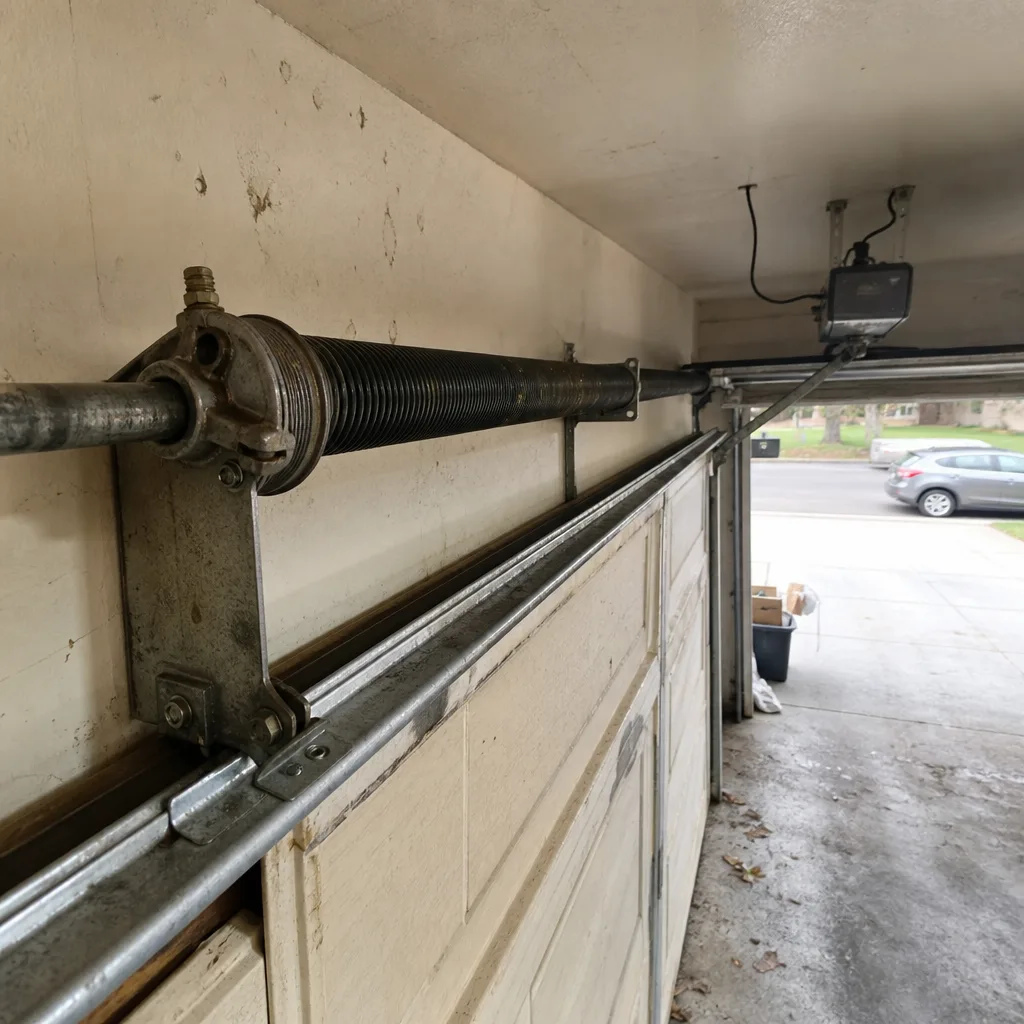
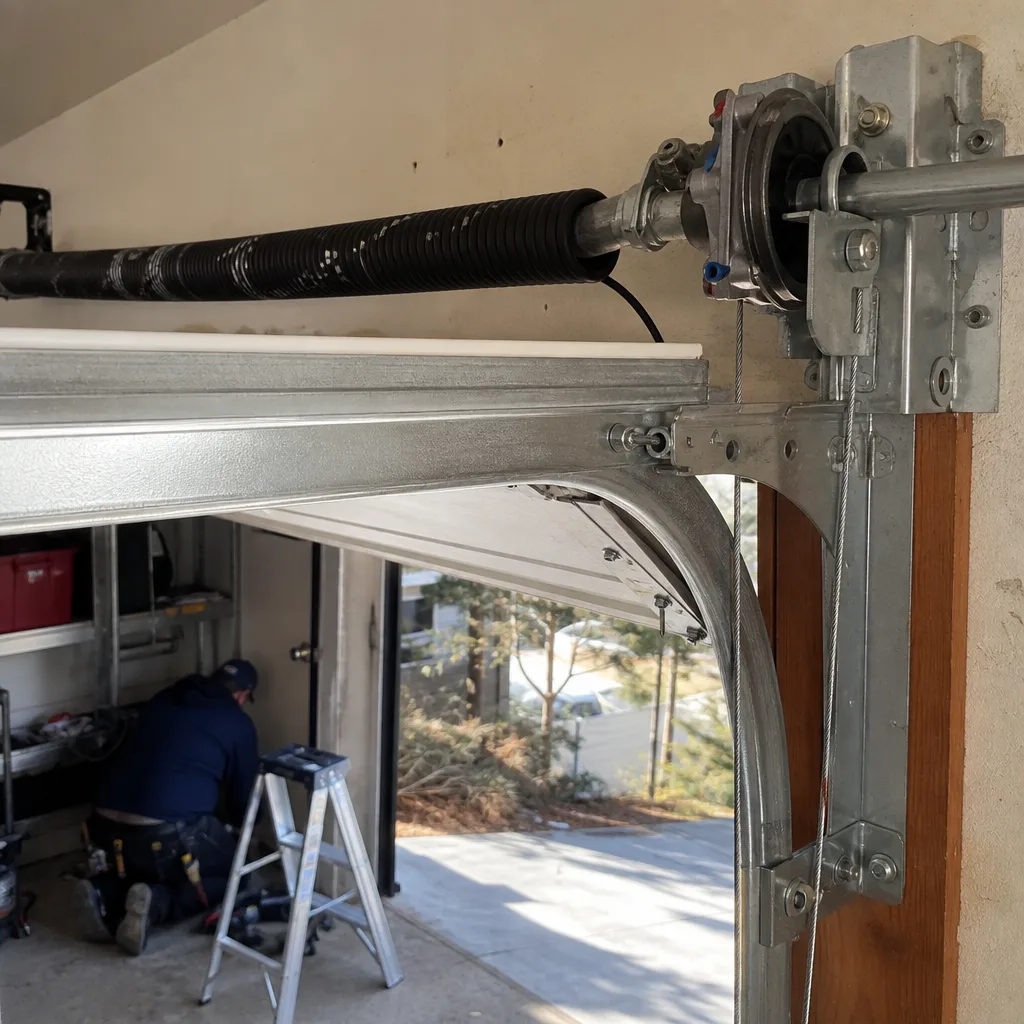
Every garage door system uses one of two spring types: extension springs, which stretch and contract along the horizontal tracks, or torsion springs, which coil tightly around a steel shaft above the door. Torsion springs are the standard in Denver homes built after 1990, and they are the reason this guide exists.
A typical residential torsion spring for a 16-foot wide door in Denver is wound to roughly 7.5 to 8 full turns of tension. Each turn stores approximately 100 foot-pounds of torque. The total stored energy - roughly 750 to 800 foot-pounds - is comparable to a compact car moving at 15 miles per hour. That energy is held in check by two winding bars inserted into the cogs of the winding cone, and by the set screws biting into the shaft.
When a technician replaces a torsion spring, the job is not “removing a broken part.” It is “controlled release of stored mechanical energy, followed by controlled re-storage.” The winding bars are steel, 18 inches long, and inserted through the cogs at 90 degrees to each other. If a bar slips during unwinding, the cone spins with enough force to throw the bar across the garage. We’ve seen bars embed in drywall. We’ve seen the bar strike a forearm and produce a comminuted fracture - the bone shatters into multiple pieces.
The $30 tool mentioned in the opening is a pair of solid steel winding bars, 1/2-inch diameter, purchased from a garage door supply house. Not rebar from a hardware store. Not a screwdriver. Not a chisel. The bars must be steel, straight, and the correct diameter for the winding cone. A 7/16-inch bar in a 1/2-inch hole will spin with the cone.
The ten minutes of learning is not “watching a video.” It is hands-on instruction from someone who has done it hundreds of times, who can feel when a set screw is backing out, who knows the sound of a cone that is about to slip. This is why we do not provide step-by-step torsion spring replacement instructions in this guide. The risk is not “if you make a mistake.” The risk is “when the bar slips,” and it is not a matter of if for a first-timer. It is when.
Extension springs carry less stored energy per spring, but they are not harmless. When an extension spring breaks, it can whip through the air. Safety cables, threaded through the center of extension springs, are required by code in many Denver jurisdictions - permits, codes & inspections in CO cover this - and should be inspected annually. If your extension spring lacks a safety cable, that is a professional repair, not a DIY project.
The electrical side carries its own hazards. A garage door opener draws 120 volts, and the logic board - the computer that controls the motor - retains capacitive charge even when unplugged. We’ve replaced logic boards where the homeowner shorted the capacitor with a screwdriver, destroying a $200 part and narrowly avoiding a shock.
This is the line: stored mechanical energy, stored electrical energy, and structural load. Components that hold none of these are DIY-appropriate. Components that hold any of them are not.
The DIY-Safe Component List
These repairs involve no stored energy, no electrical hazard, and no structural load beyond the weight of the door itself, which can be managed with proper door securing. Each is genuinely within reach of a homeowner with basic mechanical aptitude and the correct tools.
Weatherseal and Bottom Seal Replacement
The vinyl or rubber seal along the bottom of the door, and the flexible PVC or brush seal on the sides and top, degrade from UV exposure and temperature cycling. In Denver, where UV intensity at 5,280 feet is approximately 25% higher than at sea level, weatherseal replacement intervals run shorter - typically 3 to 5 years versus 5 to 7 in lower elevations.
The bottom seal slides into an aluminum or vinyl retainer channel. Remove the old seal, clean the channel of debris and ice melt residue, lubricate with silicone spray, and thread the new seal. Side and top seals attach with screws or adhesive-backed channels. No tools beyond a drill, screwdriver, and utility knife are required.
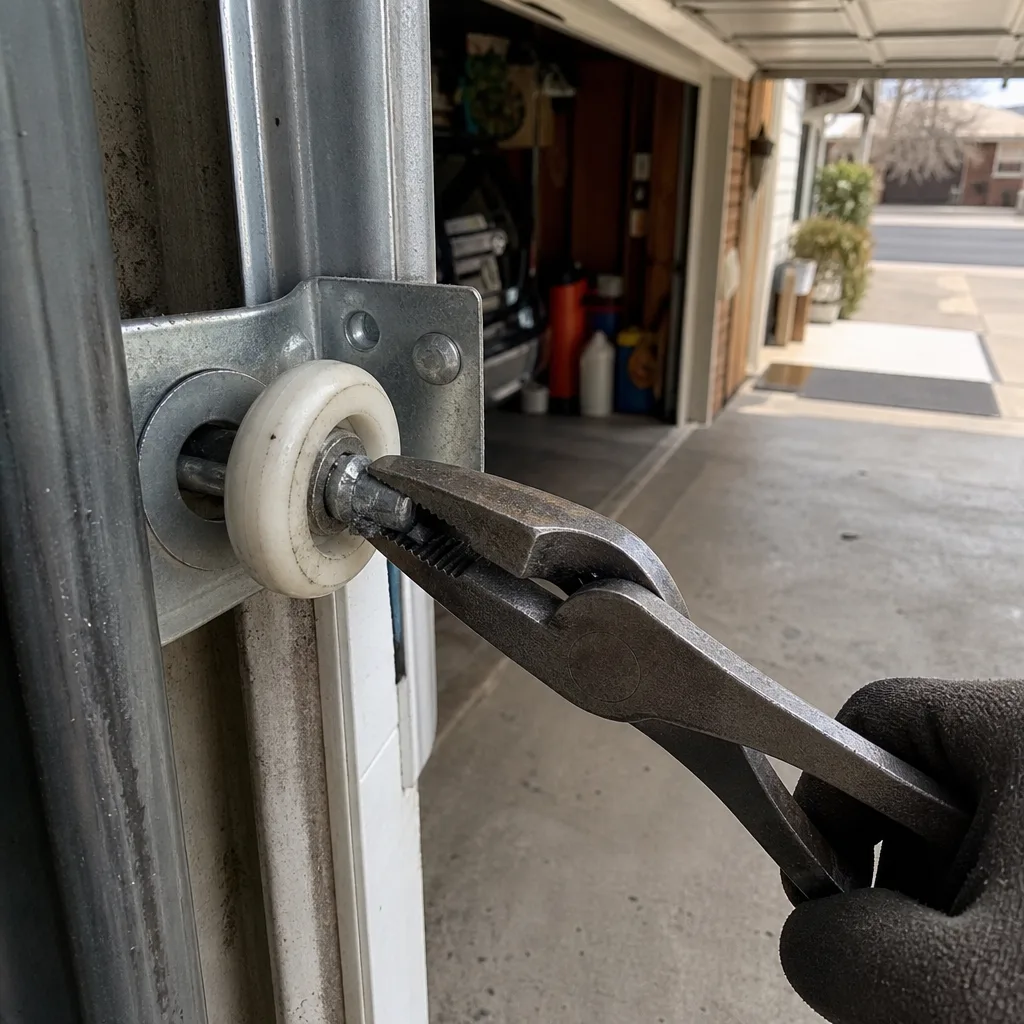
Roller Replacement (Extension Spring Doors Only, Door Secured)
Rollers - the wheeled bearings that ride in the vertical and horizontal tracks - wear out after 10,000 to 15,000 cycles. Nylon rollers are quieter than steel; steel rollers last longer but require lubrication.
On an extension spring door with the door fully closed and clamped to the track with locking pliers or C-clamps, individual rollers can be replaced by bending the track slightly at the seam where vertical meets horizontal. The roller pops out, the new roller pops in. The door must remain secured throughout. If you have torsion springs, roller replacement is not DIY - the door is under constant spring tension even when closed.
Lubrication and Hardware Tightening
Annual lubrication of hinges, rollers (not nylon), and the torsion spring itself - yes, the spring can be lubricated, but not touched - extends component life. Use a lithium-based grease or silicone spray, not WD-40, which attracts dust. Tighten loose bolts on hinges and brackets. Check that the photo eyes are aligned and clean.
Minor Panel Touch-Up
Steel door panels with surface rust can be sanded, primed with rust-inhibiting primer, and painted with exterior acrylic. Aluminum and fiberglass panels require different primers. This is cosmetic, not structural, and assumes no dent has compromised the panel’s rigidity.
Remote and Keypad Programming
Most garage door opener repair calls we receive in Denver are for programming issues, not hardware failure. The Learn button on a LiftMaster, Chamberlain, or Craftsman opener is a simple press-and-hold procedure. Genie and Raynor use similar sequences. The manual - or the manufacturer’s website, using the model number from the opener’s side label - provides the exact steps.
Key safety note for all DIY work: Disconnect the opener by pulling the red emergency release cord before working on any door component. This prevents accidental activation.
The Professional-Required Component List
These components hold stored energy, electrical charge, or structural load. The consequences of error include serious injury, door collapse, or damage that multiplies the eventual repair cost.
Torsion Spring Replacement
We’ve covered the physics. The practical reality: a torsion spring must be matched to door weight, drum type, track radius, and headroom. A spring with the wrong wire diameter, inside diameter, or length will either fail prematurely or produce dangerous over-torque. We measure with a spring gauge, consult the manufacturer’s torque chart, and record the specification in the customer’s file. A mismatched spring can tear the cable drum off the shaft or pull the header bracket out of the framing.
Cable Replacement
Cables wind around the cable drums at the ends of the torsion shaft and lift the door. When a cable frays or breaks, the door goes out of balance. Attempting to replace a cable without releasing torsion spring tension - or without understanding how the cable seats in the drum grooves - results in crossed cables, uneven winding, and door binding. We’ve repaired Denver garages where a DIY cable job damaged the drum ($85 part), the header bracket ($45 part), and the top panel section ($200+ replacement).
Track Realignment and Replacement
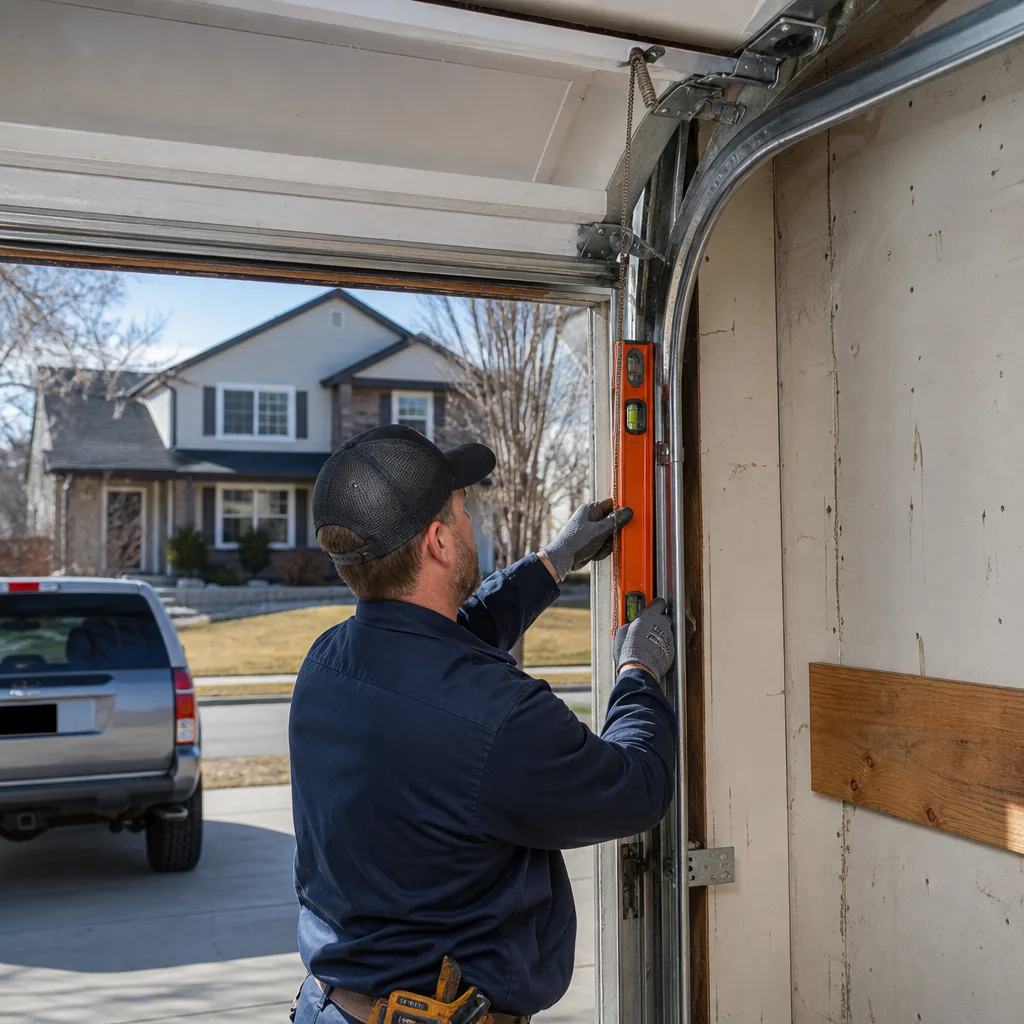
Vertical tracks must be plumb within 1/4 inch over their full height. Horizontal tracks must slope toward the motor at a precise angle. A track knocked out of alignment - by a vehicle bump, foundation settling common in Denver’s expansive clay soils, or hardware loosening - binds the rollers and strains the opener. Forcing a misaligned door creates a cascade: bent track, damaged rollers, stripped opener trolley carriage, and potentially a door off the track entirely.
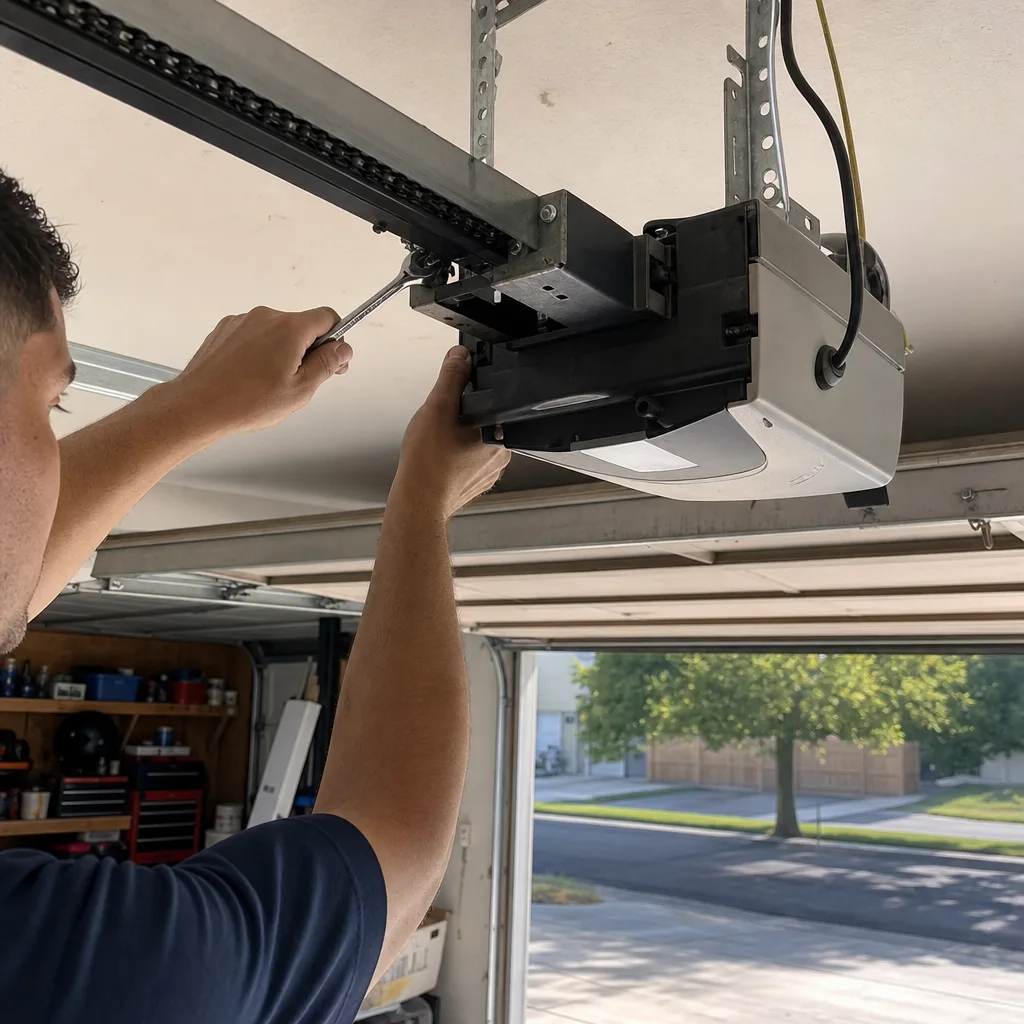
Opener Wiring and Logic Board Replacement
Low-voltage wiring for safety sensors, wall button, and external controls runs through the opener’s logic board. Miswired sensors produce erratic behavior - door reversing for no apparent reason, or failing to close. Capacitive charge in the logic board, as noted, presents shock hazard even when unplugged. High-voltage wiring to the motor itself should never be handled by a non-electrician.
Spring Conversion (Extension to Torsion)
Some older Denver homes, particularly in neighborhoods like Berkeley and Sunnyside with original 1950s construction, still have extension spring systems. Converting to torsion springs requires engineering the header bracket attachment for the full torque load, selecting the correct shaft diameter, and calculating spring pair specifications. This is not a “stronger spring” swap. It is a system redesign.
Denver Climate Considerations for DIY Work
Denver’s climate creates specific conditions that affect both what you can DIY and how often you’ll need to.
High-altitude UV degradation. At 5,280 feet, ultraviolet intensity is significantly higher than at sea level. PVC weatherseal becomes brittle and cracks in 3 to 5 years rather than 5 to 7. Bottom vinyl seal hardens and loses flexibility. This is genuinely DIY-appropriate work - the parts are inexpensive, the labor is straightforward, and the frequency makes professional dispatch uneconomical for many homeowners.
Temperature swing cycling. Denver’s 30-degree daily swings in spring and fall, and the 60-degree swings common in winter, cause metal components to expand and contract more aggressively than in stable climates. Hinge bolts loosen. Torsion springs fatigue faster. We’ve measured spring life reduction of 15-20% in homes with uninsulated garages facing south or west, where afternoon sun heats the door surface to 120°F while morning temperatures sit at 20°F.
Dry air and lubrication. Denver’s low humidity means lubricants evaporate faster. A hinge that would stay greased for two years in Houston needs annual attention here. This is the maintenance side of DIY - simple, preventive, and cost-saving.
Wind load and code. The Denver metro area, particularly eastern suburbs like Aurora and Centennial, experiences wind gusts that require reinforced doors in newer construction. If you’re considering a door replacement, wind load rating is a specification that affects track gauge, strut placement, and hardware selection. This is not DIY territory - it is garage door installation engineering.
Garage temperature and opener strain. An uninsulated garage in Denver can reach 20°F in January. Cold increases steel’s brittleness and thickens grease, making the opener work harder. If your opener is struggling in cold weather, the cause may be a door out of balance - a torsion spring issue - rather than an opener issue. Replacing a perfectly good opener because the real problem is a weak spring is a $400 mistake we’ve seen repeatedly.
Honest Cost Comparison: DIY vs Professional
Cost comparisons on garage door sites typically compare part cost to labor cost and call it done. That omits tool cost, time value, the cost of error, and the value of warranty. Here’s the full accounting.
DIY Weatherseal Replacement
| Item | Cost |
|---|---|
| Bottom seal (vinyl, 16 ft door) | $25-$40 |
| Side/top seal kit | $30-$50 |
| Silicone spray | $8-$12 |
| Utility knife, drill, screwdriver (assumed owned) | $0 |
| Time | 2-3 hours |
| Total DIY | $63-$102 |
Professional weatherseal replacement in Denver runs $150-$250, including materials and labor. The DIY savings are real, the risk is minimal, and the skill requirement is low.
DIY Roller Replacement (Extension Spring Door)
| Item | Cost |
|---|---|
| 10-pack nylon rollers (2-inch, 13-ball bearing) | $40-$60 |
| Locking pliers or C-clamps | $15-$25 |
| Time | 3-4 hours first attempt |
| Total DIY | $55-$85 |
Professional roller replacement: $200-$350, depending on roller grade and door size. Again, savings are real for extension spring doors.
Torsion Spring Replacement: The Hidden Cost Structure
| Item | DIY Cost | Professional Cost |
|---|---|---|
| Spring pair (correctly specified) | $60-$120 | Included in service |
| Winding bars (solid steel, correct diameter) | $25-$40 | Technician-owned |
| Vice grips, wrenches, ladder (assumed owned) | $0 | Included |
| Spring gauge (to measure wire diameter) | $15-$25 | Included |
| Time (research, purchase, execution) | 6-10 hours | 1.5-2 hours |
| Value of your time (at $50/hour professional rate) | $300-$500 | N/A |
| Potential error cost: damaged drum | $85 | $0 (warranty covers) |
| Potential error cost: damaged header bracket | $45 | $0 |
| Potential error cost: damaged top section | $200-$400 | $0 |
| Potential error cost: emergency room visit | $500-$5,000+ | $0 |
| Warranty on parts and labor | None | 365-Day Done Right Promise |
| True DIY Range | $400-$6,215+ | $250-$450 typical Denver quote |
The professional quote from garage door repair in Denver includes the spring specification verification, the controlled release and re-tension, the balance test, the safety reversal test, and the documented photo record. At Servo Garage Doors Denver, it also includes the written price before work starts - Clause 1 of The Haven Standard - so the $250-$450 is the number you agree to, not an estimate that drifts.
How to Document a DIY Repair Like a Pro
Whether you DIY or hire out, documentation protects you. It creates a baseline for future troubleshooting, validates warranty claims, and lets the next technician - or your future self - understand exactly what was done. At Servo, we built the company on this principle. Clause 4 of The Haven Standard requires the technician to photograph the failed component before quoting a replacement. You can apply the same discipline to your own work.
- Photograph before you touch anything. Wide shot of the full door and opener. Close-ups of the component to be replaced, with the part number visible if possible. Close-up of any adjacent components that might be affected.
- Record the part number and purchase source. Screenshot the product page or save the receipt. Note the date of installation.
- Photograph during the work. One or two shots showing the state mid-repair - the old part removed, the area cleaned, the new part positioned before final attachment.
- Photograph the completed work. The installed component, the full door in closed and open positions, and any tests performed (photo eyes aligned, manual release tested, etc.).
- Store in a dedicated folder. Cloud storage, labeled with date and description: “2024-03-15 Bottom seal replacement, 16 ft Clopay door, vinyl bulb seal from [supplier].”
When you later call a professional for a problem you can’t handle, this folder is worth its weight. A technician who knows the door’s history, the parts used, and the date of last service can diagnose faster and quote accurately. We’ve had Denver customers hand us a phone with three years of documented maintenance, and the repair that followed took half the usual time because we weren’t guessing at baseline conditions.
The inverse is also true. We’ve opened service calls where the previous repair was “some guy from Craigslist” with no paperwork, no part numbers, and a spring that was visibly the wrong specification. The customer paid for that repair twice - once for the wrong work, once for us to undo it and do it correctly.
The Minimal Tool List for Safe DIY
These are the tools that make DIY garage door work safer and more effective. Not the full mechanic’s kit - the specific items that matter for this trade.
- Locking pliers or C-clamps (2 minimum): For securing the door to the track when working on rollers or hinges. Never trust the opener to hold the door.
- Socket set with deep sockets: Hinge bolts are typically 7/16-inch or 1/2-inch. Track bolts vary. A 3/8-inch drive set with extensions reaches recessed hardware.
- Silicone spray or lithium grease: For lubrication. Avoid WD-40 for this application.
- Spring gauge: If you even think you might need to discuss spring specifications with a supplier, own this $15 tool. Measuring wire diameter with calipers or a ruler is inaccurate and dangerous - the wrong spring is worse than no spring.
- Level (2-foot minimum): For checking track plumb during any adjustment. A track out of plumb by 1/2 inch at the top binds rollers and strains the opener.
- Stepladder rated for your weight plus tools: Never stand on buckets, chairs, or the top rung marked “not a step.”
Notably absent from this list: winding bars. If you need winding bars, you are past the DIY boundary. They are not a “just in case” tool. They are the indicator that you are working on a torsion spring system, and that system is not DIY-appropriate.
Common Mistakes to Avoid
- Using the wrong spring specification. A spring with correct wire diameter but wrong length or inside diameter will over-torque or under-torque the door. We’ve replaced DIY springs in Stapleton and Highlands Ranch where the homeowner matched wire size only, and the door was either impossible to lift manually or slammed shut with dangerous force.
- Skipping the door securing step. Working on a door held only by the opener’s motor brake - which is designed for holding, not resisting wrench torque - risks the door dropping. The opener’s emergency release is for emergencies, not for creating working clearance.
- Lubricating nylon rollers or the opener chain with grease. Nylon rollers are self-lubricating; grease attracts dust that abrades the bearing. Chain drives use specific chain lubricant; grease flings off and coats the door.
- Ignoring track bolt torque specs. Track brackets bolted too loosely allow movement; too tightly, and the slot distorts. The correct torque for 5/16-inch track bolts is typically 15-20 ft-lbs - snug, not crushed.
- Replacing the opener when the spring is weak. In Denver’s cold winters, a door with a weakening torsion spring feels heavy and strains the opener. The opener hums, labors, or reverses. The homeowner buys a new opener, installs it, and has the same problem because the root cause was never the opener. Test spring balance first: with the opener disconnected, the door should stay at mid-height when released.
- Not checking photo eye alignment after any track work. A bumped photo eye - the safety sensors near the floor - causes the door to reverse immediately or refuse to close. The LED indicators on LiftMaster and Chamberlain sensors show alignment status; learn the color code for your brand.
- Throwing away documentation. The receipt, the part number, the photo of the old part - these are your warranty claim and your future technician’s starting point. Store them.
When to Call a Professional
Call a professional when the repair involves torsion springs, cables, track realignment, opener wiring, or any component whose failure could cause the door to fall or the spring to release uncontrolled energy. Call when you have documented a pattern of repeated failures - three roller replacements in two years suggests a track or spring issue, not bad luck. Call when the door is off the tracks entirely, which is a structural hazard requiring proper jacking and re-engagement.
Servo Garage Doors Denver offers free estimates in Denver - call (720) 807-2580. Every estimate includes a written, flat price and written scope before any work begins, per Clause 1 of The Haven Standard. You’ll receive a documented photo record of findings and completed work, and the 365-Day Done Right Promise covers all repairs.
Frequently Asked Questions
Torsion spring replacement in Denver typically runs $250-$450 for a standard residential door, including parts, labor, and warranty. Extension spring replacement is slightly less, $200-$350. The exact price depends on door size, spring specification, and whether additional components like cables or drums need replacement. Call (720) 807-2580 for a written quote - estimates are free and the price is agreed before work starts.
Torsion springs are installed in matched pairs and should be replaced together. A single new spring paired with an old spring creates imbalance - the door lifts unevenly, strains the opener, and the older spring fails soon after. The labor to replace one spring is nearly identical to replacing both; the second spring is only the part cost. We quote spring replacement as a pair, with the specification and cycle life rating documented in writing.
Look above the door. Torsion springs are a single coil (or pair of coils) mounted horizontally on a steel shaft directly above the door opening. Extension springs are two long springs, one on each side, running parallel to the horizontal tracks. If you see the coil above the door, you have torsion springs and should not attempt spring or cable work yourself.
In Denver, cold thickens lubricant and increases steel stiffness, but the most common cause is a weakening torsion spring. The spring provides the lifting force; the opener only guides and assists. When the spring weakens, the opener carries more load than designed for. Disconnect the opener and test: the door should lift smoothly with one hand and stay at mid-height. If it drops or feels heavy, the spring needs professional attention before the opener burns out.
At Servo Garage Doors Denver, no. Clause 1 of The Haven Standard requires a flat, written price and written scope before any work begins. The technician inspects, documents findings with photographs, and presents the full price. If additional issues are found during work, they are documented and quoted separately before proceeding. The price you agree to is the price on the invoice.
Yes. Our trucks stock torsion springs in common wire sizes and lengths for Denver’s prevalent door dimensions, plus cables, drums, rollers, hinges, and logic boards for major brands including Wayne Dalton, Craftsman, and LiftMaster. For less common specifications or older Raynor systems, we source same-day from local suppliers. Emergency calls receive priority dispatch with a named technician and an on-the-way text.
A standard 10,000-cycle torsion spring lasts 7-10 years for typical residential use (3-4 cycles daily). In Denver, temperature cycling and high-altitude UV can reduce life by 15-20% for doors in uninsulated, south-facing garages. Higher-cycle springs (20,000 or 30,000 cycles) are available and cost proportionally more upfront but reduce lifetime cost. We record cycle rating on every spring we install and can quote upgrade options.
The Bottom Line
The DIY versus professional question for garage doors is a physics question dressed in a skill question. Weatherseal, bottom seal, lubrication, and roller replacement on extension-spring doors - these are genuinely within reach, genuinely cost-saving, and genuinely worth your time. Torsion springs, cables, track alignment, and opener wiring hold stored energy or structural load that does not forgive error. The tool to release that energy costs $30 and takes ten minutes to learn, but the learning requires hands-on instruction, not a video, and the consequence of incomplete learning is not a failed project - it’s an emergency room visit. In Denver’s climate, where temperature swings accelerate wear and UV shortens seal life, knowing which side of the line you’re on saves money when you can handle it and saves everything else when you can’t.
Written by Marcus Deller, Owner at Servo Garage Doors Denver, serving Denver since 2015.